

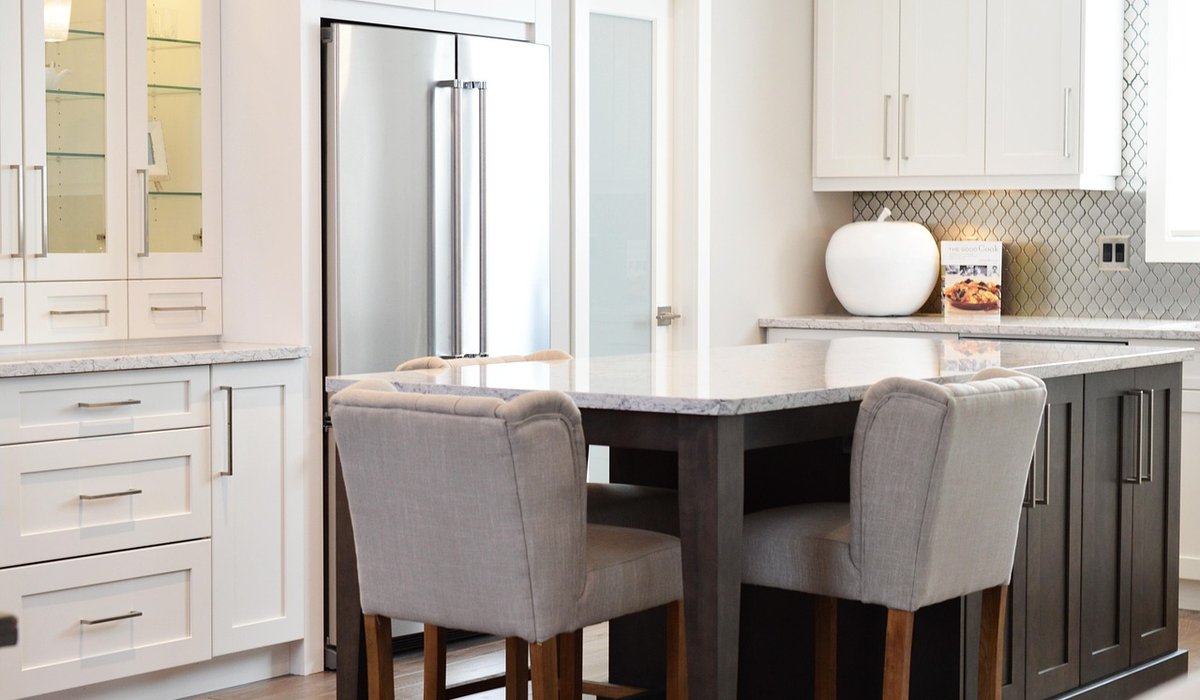
Low-Cost Ways to Refresh a Tired Rental Kitchen
Rental kitchens have a habit of looking tired for reasons that have nothing to do with how well you keep them: orange pine doors, a dark brown worktop, a splashback chosen by somebody else decades ago. The good news is that you don't need a full refit to make the space feel like yours. With a weekend, a modest budget and a few removable products, you can transform it — and take most of it with you when you move.
Start With a Thorough Clean and a Clear Worktop
Before you spend a penny, give the room a proper reset. Years of cooking residue dull even a decent kitchen, and grease film makes everything look grubbier than it is. Wipe cupboard doors with warm sugar soap or a bicarbonate-of-soda paste on stubborn marks, drying as you go so the veneer doesn't swell. Descale the kettle, clean the extractor filter, then clear the worktops completely.
Much of what makes a rental kitchen feel exhausted is visual clutter: every appliance, jar and tray competing for attention. Box up anything you don't use weekly and put back only three or four things. The change is instant and it costs nothing.
Removable Adhesive Tiles and Peel-and-Stick Splashbacks
Peel-and-stick vinyl or gel tiles are the classic rental fix, and they work well if you treat them seriously. Measure the splashback area, add around ten per cent for cuts, and choose a colour and shape you'd pick again — plain gloss white or a soft sage reads far more expensive than a busy pattern.
The wall must be clean, dry and grease-free or the adhesive simply won't grip, so wipe it down and let it dry fully. Start at a corner or from the centre, peel the backing a little at a time, and press each tile firmly with a squeegee or an old credit card to push out air bubbles. Keep tiles away from the area directly behind and beside the hob: heat and spatter will lift them, and they are not a substitute for a proper heat-resistant splashback. Test one tile somewhere inconspicuous, leave it a week, then peel it off to check it hasn't taken paint with it. To remove, warm the tile with a hairdryer and pull slowly.
Cover the Bits You Can't Change
Self-adhesive vinyl wrap can cover a worktop, shelf fronts, even a tired fridge door, and a roll costs very little. Work in small sections rather than one big sheet, smoothing with a felt-edged squeegee as you go and warming the film gently to ease it around curves. Never put hot pans directly on a wrapped worktop or chop on it — use boards and trivets.
Shelf liner is the cheapest upgrade in the whole kitchen: cut to size, lay it flat, and the inside of your cupboards stops looking like a crime scene. Swapping cupboard handles is another quick win. Buy new ones, then bag the originals with their screws, label the bag and refit them before you leave.
Freestanding Storage That Comes With You
If the kitchen simply lacks storage, add furniture rather than fixtures. A butcher's block trolley creates extra worktop and shelving in one move, and slimline trolleys around 30cm wide slot neatly into the gap beside a fridge. A metal baker's rack, a stacking set of baskets, an over-door rack on the pantry door or a tiered wire trolley will all hold far more than you'd expect, and none of it needs drilling.
Second-hand is your friend here. A charity-shop shelf unit given a coat of hard-wearing paint looks purpose-bought for a fraction of the price. Just keep ventilation gaps around the fridge and oven clear.
Lighting, Textiles and the Finishing Touches
Most rental kitchens are lit by a single grim ceiling bulb, which flattens everything in the room. Add a peel-and-stick LED strip under the wall cupboards, or a plug-in pendant and a small lamp in the corner for a warm pool of evening light.
Fabric softens a hard, shiny room, and small items carry a surprising amount of visual weight:
- A washable runner or small rug in front of the sink
- A Roman blind or café curtain on a tension rod — no drilling required
- Tea towels and oven gloves in a colour you actually like
- A couple of potted herbs on the windowsill
- A new bin, kettle and washing-up bowl if the old ones drag the scheme down
Staying on the Right Side of Your Tenancy Agreement
Everything here is designed to be removable, but removable isn't the same as risk-free. Read your tenancy agreement first, and ask your landlord or letting agent in writing about anything borderline — a short email now is far easier than an argument about the deposit later.
Photograph the kitchen before you start. Keep original handles, shelf clips and fittings together in one labelled bag. Test every adhesive product in a hidden spot, such as inside a cupboard door, and avoid anything labelled extra strong or permanent. When you leave, peel, clean and make good, and the kitchen should look as it did when you arrived — only considerably nicer.


Interiors
-
Assess natural light throughout the day, then choose warm whites and soft greens to stop north-facing rooms feeling cold and unwelcoming.

Kitchens


-

Long established fact that a reader will be distracted
-

Long established fact that a reader will be distracted
-

Long established fact that a reader will be distracted


Renovation
Karla Gleichauf
12 May 2017 at 05:28 pm
On the other hand, we denounce with righteous indignation and dislike men who are so beguiled and demoralized by the charms of pleasure of the moment
M Shyamalan
12 May 2017 at 05:28 pm
On the other hand, we denounce with righteous indignation and dislike men who are so beguiled and demoralized by the charms of pleasure of the moment
Liz Montano
12 May 2017 at 05:28 pm
On the other hand, we denounce with righteous indignation and dislike men who are so beguiled and demoralized by the charms of pleasure of the moment